Pros and Cons of Solar Nails: The Ultimate Guide
Introduction
Have you ever wondered about a nail enhancement technique that not only adds glamour to your nails but also brings sun-kissed radiance to your fingertips? Well, look no further! Solar Nails are the buzz in the beauty world, providing a unique and durable solution for those craving a long-lasting, impeccable manicure. In this detailed guide, we’ll delve into the world of solar nails, exploring what they are, their benefits, how to apply and remove them, and much more. Buckle up as we embark on a journey to discover the secrets behind these radiant beauties!
What are Solar Nails?
Sculpting Radiance:
Solar nails, often hailed as a revolutionary approach to nail enhancements, are a type of acrylic nail designed to offer a natural and glossy appearance. These nails are made using a combination of a special type of acrylic powder and liquid that forms a durable and glossy layer on your natural nails. The term “solar” doesn’t imply any connection to the sun; rather, it signifies the radiant and vibrant finish these nails provide. Unlike traditional acrylic nails, solar nails are considered to be a notch above due to their enhanced durability and natural look.
Materials Involved:
The magic of solar nails lies in their unique composition. They are crafted using a specific powder made of ethyl methacrylate and other proprietary ingredients. The liquid used in the process is typically ethyl cyanoacrylate. This distinct combination ensures a smooth application and a flawless finish that sets solar nails apart from other nail enhancement techniques.
Pros and Cons of Solar Nails
Pros Of Solar Nails:
1. Durability Redefined: One of the standout features of solar nails is their exceptional durability. Unlike traditional acrylic nails, which may chip or break easily, solar nails are renowned for their resilience. This makes them an ideal choice for individuals with an active lifestyle or those prone to accidents that can put a strain on their nails. The lasting power of solar nails ensures that your manicure stays flawless for an extended period of time, saving you the hassle of frequent touch-ups.
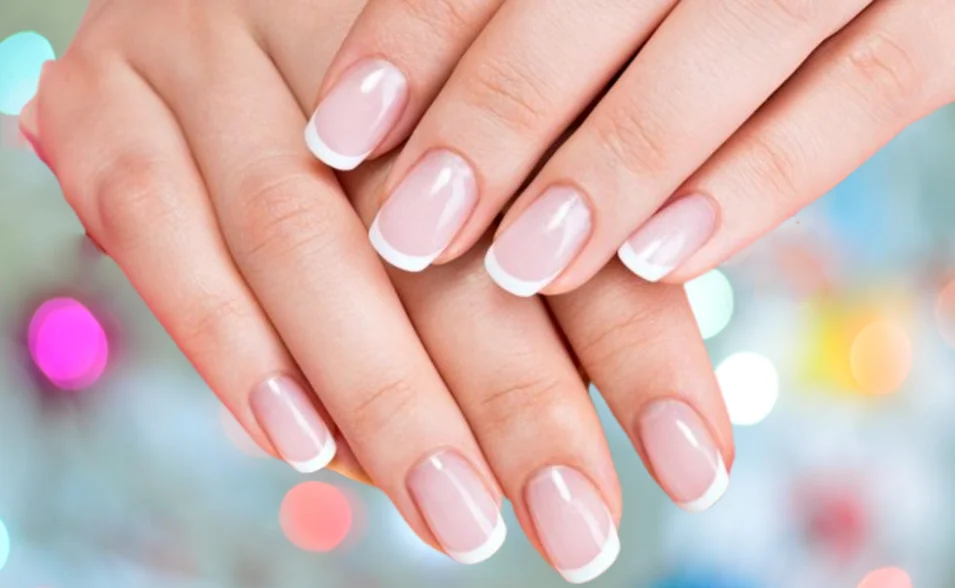
2. Natural Aesthetics: Imagine having nails that not only withstand the test of time but also look effortlessly natural. Solar nails provide just that. The composition and application process contribute to a glossy and natural finish, mimicking the appearance of real nails. This aspect of solar nails makes them a top choice for individuals who desire a manicure that looks and feels authentic.
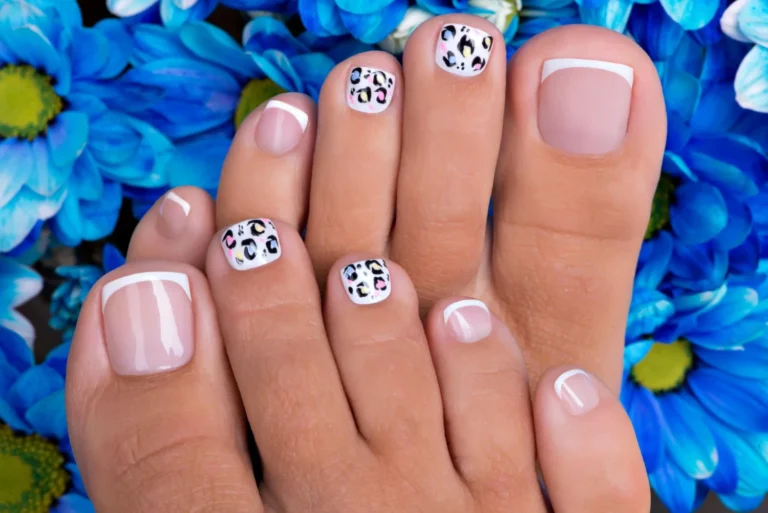
3. Versatility in Design: Solar nails offer a versatile canvas for various nail designs. Whether you prefer a classic French manicure or trendy nail art, solar nails can accommodate a wide range of styles. The smooth surface and natural color of solar nails provide an excellent base for both solid-color nails and intricate designs, allowing you to express your creativity through your fingertips.
4. Low Maintenance: Embrace the joy of low maintenance with Solar Nails. Once these beauties are expertly applied, they graciously demand minimal attention from you. Say goodbye to the constant worry of chipping or breaking, as Solar Nails prove to be resilient, reducing the necessity for frequent touch-ups. Now, you can enjoy your flawless nails without the perpetual need for salon visits, offering you both style and convenience.
5. No UV or LED Light Required: Ditch the UV or LED drama—Solar Nails march to the beat of their own drum. Unlike gel nails that demand the spotlight of UV or LED light for curing, Solar nails take care of business without the need for any external radiance. They naturally harden during the application process, making the experience not just hassle-free but also sparing you from the additional step of light exposure. It’s the perfect blend of efficiency and simplicity for those who prefer their nail game with a side of ease.
Cons of Solar Nails:
1. Professional Application Needed: Achieving the desired results with solar nails requires professional application. Attempting to apply them at home may result in subpar outcomes.
2. Removal Process: While the removal process is straightforward, it does involve soaking the nails in acetone, which may be time-consuming.
3. Initial Cost: The initial cost of getting solar nails may be higher than for traditional manicures. However, considering their durability, it can be a cost-effective choice in the long run.
4. Potential for Damage: If not applied or removed correctly, there is a potential risk of damage to natural nails. It’s essential to choose a skilled technician for the application and removal processes.
How to Apply and Remove Solar Nails
Application Process of Solar Nails:
The application of solar nails involves a meticulous process that, when done correctly, results in a stunning and long-lasting manicure. Here’s a step-by-step guide on how to apply solar nails:
1. Consultation: Before diving into the application process, schedule a consultation with a professional nail technician. This step is crucial to discussing your preferences, nail health, and any specific design or length you desire.
2. Nail Preparation: The technician will begin by cleaning and shaping your natural nails. This may involve trimming them to your preferred length and shaping them according to your chosen style.
3. Primer Application: A primer is applied to your natural nails to enhance the adhesion of the solar nail material. This ensures a strong bond and helps prevent lifting or chipping.
4. Acrylic Application: Using a brush, the technician will apply a mixture of the special acrylic powder and liquid to your nails. This mixture is sculpted to create the desired length and shape. Each nail is carefully crafted to achieve a natural appearance.
5. Drying and Shaping: Once the acrylic has been applied, it needs to dry and harden. During this time, the technician may shape the nails further, ensuring they align with your preferences and the desired style.
6. Buffing and Smoothing: After the acrylic has fully dried, the technician will buff the nails to smooth out any imperfections and enhance the overall shine. This step is crucial for achieving the glossy finish associated with solar nails.
7. Polishing and Design: The final touch involves polishing the nails with your preferred color or design. Solar nails provide a versatile canvas for various designs, from classic French manicures to vibrant nail art.
8. Final Inspection: The technician will conduct a final inspection to ensure each nail is flawless and meets your expectations. Any required adjustments will be made during this stage.
Removal Process of Solar Nails:
While solar nails boast durability, there may come a time when you want to remove them. Here’s a simple guide on how to remove solar nails safely:
1. Soak in Acetone: Begin your nail care ritual by giving your nails a soothing soak in acetone. You can do this by filling a bowl with acetone and placing your fingertips in it. Allow the nails to soak for around 20–30 minutes.
2. Gentle Removal: After soaking, the acrylic should become soft and pliable. Use a cuticle stick or a wooden pusher to gently remove the softened acrylic from your nails. Exercise patience and refrain from forcefully removing them to safeguard your natural nails from potential damage.
3. Buffing and Moisturizing: Once the acrylic is removed, buff your natural nails to smooth any remaining residue. Finish the process by moisturizing your nails and cuticles to restore hydration.
Comparing Solar Nails, Gel Nails, and Acrylic Nails

Solar nails, gel nails, and acrylic nails are popular choices in the realm of nail enhancements, each with its own unique characteristics. Understanding the differences between them can help you make an informed decision based on your preferences and lifestyle.
Let’s break down the differences between solar nails, gel nails, and acrylic nails in a concise chart for easy comparison:
| Feature | Solar Nails | Gel Nails | Acrylic Nails |
| Composition | Powder and solar solution | Gel-based polish | Acrylic powder and liquid |
| Odor | Mild | Minimal | Strong |
| Application Process | Liquid and powder mixture | Gel polish cured under UV/LED | Liquid and powder mixture |
| Strength | High | Moderate | High |
| Durability | Long-lasting | Moderate | Long-lasting |
| Natural Appearance | Yes, glossy finish | Natural-looking, glossy | Can appear thicker and less natural |
| Maintenance | Low | Moderate | Regular maintenance required |
| Yellowing | Non-yellowing | Minimal | Can yellow over time |
| Flexibility | Flexible | Flexible | Less flexible |
| Application Odor | Mild | Minimal | Strong |
Now, let’s delve a bit deeper into each category:
1. Composition Distinctions:
- Solar Nails: Solar nail are crafted using a specific powder made of ethyl methacrylate and other proprietary ingredients, along with a liquid typically containing ethyl cyanoacrylate.
- Gel Nails: Gel nails are made from a gel-like substance that is cured under UV or LED light. The gel is applied in layers and requires curing between each layer.
- Acrylic Nails: Acrylic nails are composed of a liquid-and-powder mixture that forms a hard and durable layer when applied to natural nails.
2. Odor:
- Solar Nails: Emit a mild odor during the application process.
- Gel Nails: Have minimal odor, contributing to a more pleasant application experience.
- Acrylic Nails: Carry a strong odor, primarily due to the liquid monomer used in the process.
3. Application Process:
- Solar Nails: Solar nail involve the use of a liquid-and-powder mixture that is sculpted onto the natural nails. The process is relatively straightforward and results in a glossy, natural finish.
- Gel Nails: Gel nails require the application of gel layers, with each layer being cured under UV or LED light. This process gives gel nails a shiny and polished appearance.
- Acrylic Nails: Acrylic nails are applied using a liquid-and-powder mixture that is sculpted onto the natural nails. The application process is similar to that of solar nails but may involve more filing.
4. Removal Process:
- Solar Nails: Solar nails can be removed by soaking them in acetone to soften the acrylic, making it easier to gently lift and remove without causing damage to natural nails.
- Gel Nails: Gel nails can be removed by soaking them in acetone, but the process may take longer due to the multiple layers of gel that need to be dissolved.
- Acrylic Nails: Acrylic nails are typically removed by soaking in acetone, similar to solar nails. However, acrylic nails may require more filing to be removed completely.
5. Strength:
- Solar Nails: Exhibit high strength, providing resilience against daily wear and tear.
- Gel Nails: Offer moderate strength, striking a balance between durability and flexibility.
- Acrylic Nails: Known for their high strength, making them resistant to chips and breaks.
6. Durability:
- Solar Nails: Known for their exceptional durability, solar nails are resistant to chipping and breaking, providing a long-lasting manicure.
- Gel Nails: Gel nails offer a durable and flexible finish. While they may not be as robust as solar nails, they are less prone to chipping compared to traditional acrylic nails.
- Acrylic Nails: Acrylic nails are known for their durability, but they can be more prone to chipping and breaking compared to solar nails.
7. Appearance and Finish:
- Solar Nails: Solar nail provide a glossy and natural appearance, mimicking the look of real nails. They are available in various colors and designs.
- Gel Nails: Gel nails offer a shiny and polished appearance with a natural look. They are also available in a wide range of colors and finishes.
- Acrylic Nails: Acrylic nails can have a glossy finish, but they may require more buffing to achieve a natural look. They are versatile in terms of colors and designs.
8. Flexibility:
- Solar Nails: Solar nail provide a balance of durability and flexibility. They are less prone to breaking or chipping compared to acrylic nails.
- Gel Nails: Gel nails are appreciated for their flexibility, offering a natural feel and being less rigid than acrylic nails.
- Acrylic Nails: Acrylic nails are durable but may be less flexible than gel nails, making them more prone to breakage.
9. UV/LED Light Requirement:
- Solar Nails: Solar nail do not require UV or LED light for curing. They harden on their own without the need for additional light exposure.
- Gel Nails: Gel nails require UV or LED light for curing. Each gel layer needs to be cured under the light to achieve the desired hardness.
- Acrylic Nails: Acrylic nails do not require UV or LED light for curing. They harden on their own during the application process.
10. Maintenance:
- Solar Nails: Require low maintenance, with infrequent touch-ups needed.
- Gel Nails: Involve moderate maintenance, with periodic visits for upkeep.
- Acrylic Nails: Demand regular maintenance, including filling in growth gaps and repairing any damage.
11. Yellowing:
- Solar Nails: Boast a non-yellowing formula, maintaining their original color over time.
- Gel Nails: May experience minimal yellowing, depending on the quality of the gel polish used.
- Acrylic Nails: Can yellow over time, especially when exposed to sunlight and certain chemicals.
12. Application Odor:
- Solar Nails: Have a mild application odor, ensuring a more pleasant experience for clients and technicians.
- Gel Nails: Feature minimal application odor, enhancing overall comfort during the application process.
- Acrylic Nails: Emit a strong application odor due to the use of liquid monomer, which can be overpowering for some individuals.
Tips for a Successful Solar Nail Application:
- Communicate openly with your technician about your preferences and any concerns you may have.
- Choose a reputable salon with experienced technicians for a professional and satisfying experience.
- Follow the aftercare instructions provided by your technician to maintain the longevity of your solar nails.
How Much Do They Cost? The Price of Radiance
Now that you’re undoubtedly intrigued by the wonders of solar (Sunshine) nails, let’s address the golden question: how much do they cost? The cost of solar nails can vary based on factors such as location, salon reputation, and the specific services included in the package. On average, you can expect to invest anywhere from $30 to $50 for a full set of solar nails.
It’s essential to keep in mind that while the initial cost may seem slightly higher than traditional manicures, the longevity and low maintenance of solar (Sunshine) nails make them a cost-effective choice in the long run. After all, who can put a price on effortlessly stunning nails that endure the test of time?
Conclusion
In wrapping up our exploration of solar nails, it’s evident that these dazzling beauties go beyond being just a manicure; they represent a revolution in the realm of nail enhancements. The outstanding durability, natural allure, and adaptability of solar nails make them the top pick for those in search of a lasting and stylish nail solution.