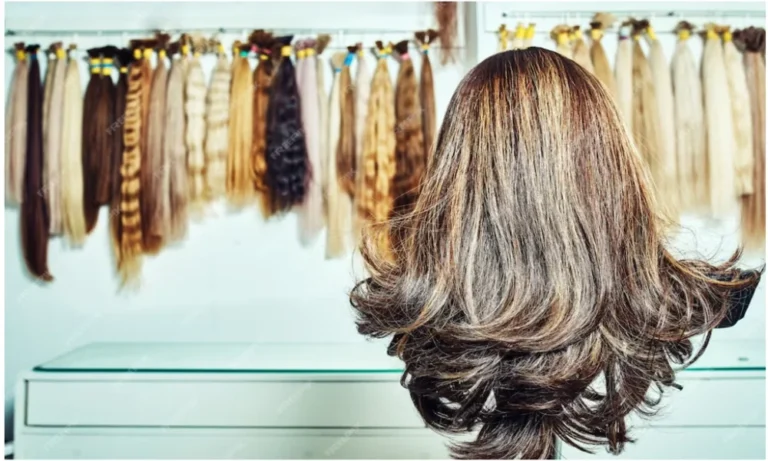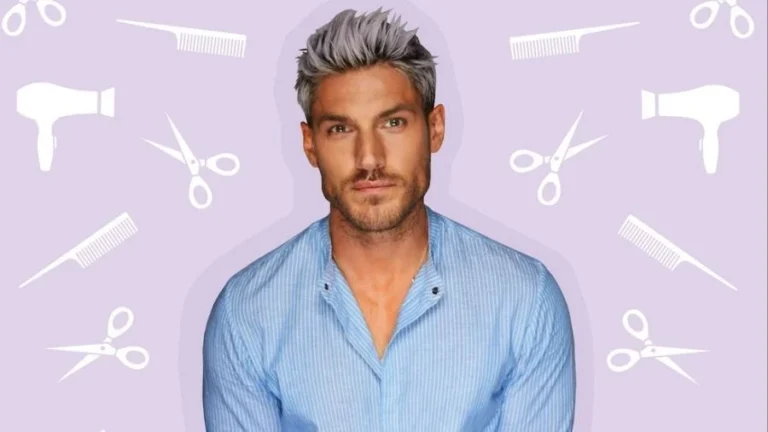
Exploring DIY and Professional Hair Smoothening Treatments
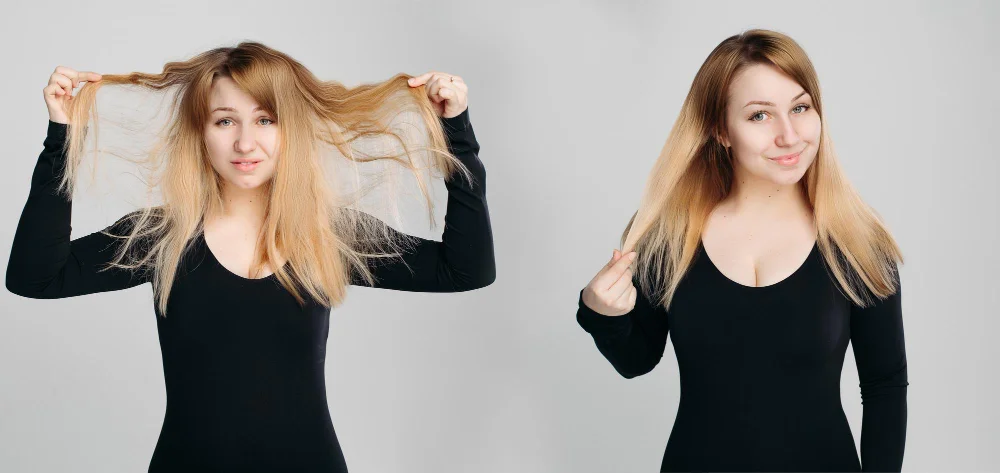
Are you weary of dealing with uncontrollable, frizzy hair each morning? Dreaming of effortlessly sleek tresses that rival those glossy magazine covers? Well, you’re not alone! We all crave hair that feels like spun silk and shines like a thousand stars. But how can you achieve this magical transformation without waving a wand? Fear not, my friend! The answer lies in the enchanting world of hair smoothening.
What Exactly is Hair Smoothening?
Let’s start by breaking it down. Hair smoothening, also known as keratin treatment or Brazilian blowout, is like a superhero for your hair. It’s a semi-permanent method that works wonders at eliminating frizz, reducing curls, and giving you that sleek, glossy finish you’ve been dreaming of. Unlike traditional chemical relaxers, which can sometimes leave your hair feeling dry and damaged, smoothening treatments often use a gentle keratin-based formula. This magical concoction helps to smooth out the hair, locking in moisture and leaving you with hair that feels like silk.
The Magical Elixir
Imagine a potion—a potion that tames wild hair, banishes frizz, and leaves you with locks smoother than a freshly ironed shirt. That’s precisely what hair smoothening offers! It’s like a spa day for your precious strands, minus the cucumber slices. Here’s the lowdown:
- Keratin: Keratin, a type of protein, is the main component of your hair. It’s made up of several amino acids, with cysteine being the most abundant. Disulfide bonds connect one cysteine atom to another, holding the entire keratin structure together. The arrangement of these keratin filaments and the number of disulfide bonds within them determine your hair’s basic structure and texture.
- Hair Types: There are mainly three hair types: wavy, curly, and straight. Hair smoothening treatment is a beauty procedure designed to minimize frizz and dryness, leaving you with a smooth, glossy look. It restores keratin to unruly hair, enhancing its basic structure and appearance. The cost of this treatment is approximately 350 US dollars, and it takes around 3 to 4 hours to complete.
How does hair smoothing different from hair straightening?
While both treatments share the common goal of achieving smoother, silkier, and shinier hair, they rely on distinct chemical compositions to achieve these results. Hair straightening employs potent chemicals that deliver a more profound and longer-lasting effect on the hair’s texture. Conversely, hair smoothing treatments offer a temporary enhancement, providing a boost of sleekness and manageability without permanently altering the hair’s natural structure.
It’s important to grasp the nuances between these procedures. Hair straightening can range from temporary to permanent, depending on the chosen method. For example, alkaline relaxers break down the hair’s disulfide bonds, effectively reshaping it into a straighter form. On the other hand, nonalkaline relaxers offer a more enduring transformation, resulting in permanently straightened hair that maintains its sleek appearance over time.
By understanding these distinctions, individuals can make informed decisions based on their desired outcomes and hair care preferences. Whether seeking a temporary smoothing effect or a more permanent straightening solution, there are treatment options available to suit a variety of needs and lifestyles.
Types of Hair Smoothening Treatments
1. Brazilian Blowout
This treatment infuses your hair with liquid gold (okay, not literally, but it feels that way). It’s perfect for those who want smoothness without sacrificing volume.
2. Japanese Straightening
For poker-straight hair that defies gravity, Japanese straightening is the answer. Warning: You might feel like a superhero afterward.
3. Keratin Treatment
The OG of hair smoothening, keratin treatment leaves your hair glossy and manageable. It’s like a spa day for your locks.
Hair Smoothening Process
The hair smoothening process involves using specialized treatments to achieve smooth, frizz-free hair. These treatments typically include applying a smoothing solution to the hair, followed by heat styling to seal in the results. The process can be done at a salon by a professional stylist or at home using DIY kits. It’s important to follow the instructions carefully and consider factors like hair type and condition before undergoing the treatment. With the right approach, hair smoothening can leave you with beautifully sleek and manageable locks that last for weeks.
Here’s a straightforward approach to make your hair smoothening effortless:
1. Preparation
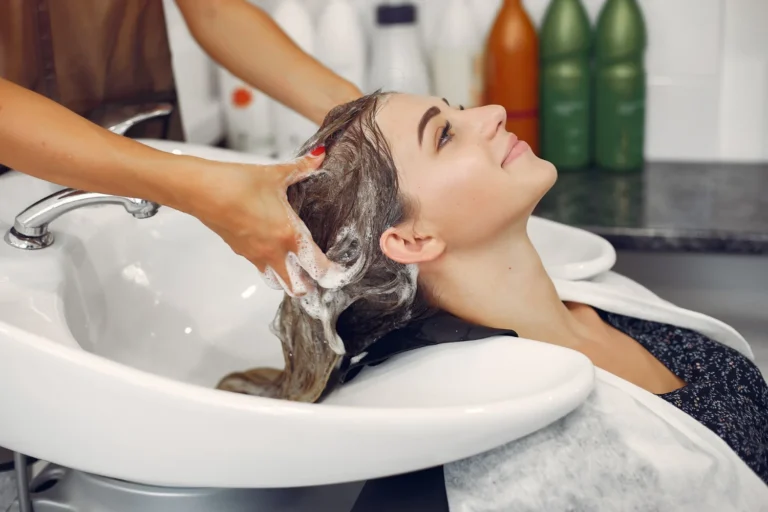
First things first, we start by giving your hair a good wash, conditioning, and towel-drying session. This helps remove any buildup and ensures your hair is clean and ready for the treatment ahead.
2. Lotion Application
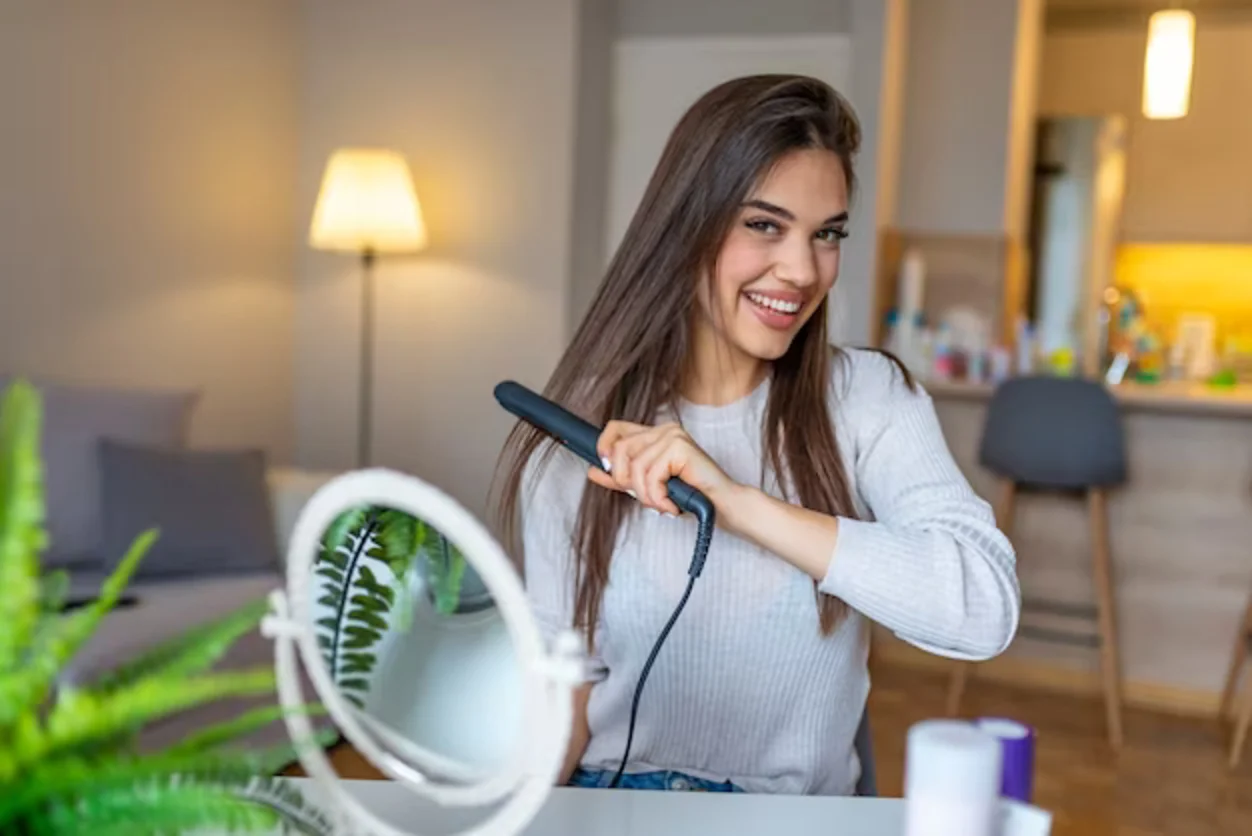
Once your hair is dry, we move on to the fun part! Using a round brush and blow dryer, we create a smooth base. Then, we tackle small sections of hair with a flat iron to seal in the smoothening goodness. This heat helps lock in the results, leaving you with sleek, gorgeous locks ready to conquer the world.
And there you have it – a fantastic hair smoothening experience that leaves you feeling like a million bucks!
3. Drying and Straightening
After blow-drying with a round brush, small sections of hair are straightened using a flat iron. This heat seals the cuticles, promoting sleekness and completing the transformation.
Benefits of Hair Smoothening: Unlocking the Magic
Now that you know how it works, let’s talk about why you’ll want to add hair smoothening to your beauty arsenal:
1. Softness
Hair smoothening leaves your locks feeling irresistibly soft, like you’ve just stepped out of a luxurious spa treatment.
2. Strength
Say goodbye to breakage and hello to stronger, more resilient hair with hair smoothening. It helps fortify your strands, ensuring they can handle whatever life throws their way.
3. Shine
Prepare to radiate brilliance like a dazzling diamond! Hair smoothening treatments enhance the natural shine of your hair, leaving it looking healthy and vibrant.
4. Less Time
With hair smoothening, your morning routine becomes a breeze. Spend less time battling with your hairdryer and more time enjoying the things you love.
5. Long-Lasting Results
Enjoy weeks or even months of fabulous hair, thanks to the lasting effects of hair smoothening treatments. Say hello to more time spent flaunting your beautiful locks and less time worrying about touch-ups.
6. Customizable to You
Whether you’re aiming for a sleek, straight look or just want to tame those curls, hair smoothening treatments can be tailored to fit your unique style and preferences.
7. Healthier-Looking Hair
Nourishing ingredients in smoothening treatments help strengthen and condition your hair, leaving it looking and feeling healthier than ever before. Say goodbye to dull, lifeless locks and hello to hair that radiates vitality.
Potential Risks and Considerations
While the benefits are undeniable, it’s essential to be aware of the potential risks and considerations:
1. Chemical Exposure
Some smoothening treatments contain chemicals that can be irritating to the skin and respiratory system. Always choose a reputable salon and inquire about the ingredients used in the treatment.
2. Hair Damage
Overuse or improper application of smoothening treatments can lead to damage to your hair, including breakage and dryness. Follow the advice of your stylist and practice proper maintenance to keep your locks in top condition.
3. Cost
Quality hair smoothening treatments can be an investment, so be sure to budget accordingly. Remember to factor in the cost of regular touch-ups and maintenance products.
4. Maintenance
While smoothening treatments can cut down on styling time, they still require some maintenance to keep your hair looking its best. Use sulfate-free shampoos and conditioners, avoid excessive heat styling, and schedule regular touch-up appointments.
Hair Smoothening Treatment at Home: A Step-by-Step Guide
Curious about trying hair smoothening from the comfort of your own home? You’re in good company! Many folks are intrigued by the idea of DIY hair treatments, and with the right tips and tools, you can achieve salon-worthy results in your own bathroom. Let’s explore the step-by-step process of trying hair smoothening at home.
1. Choose the Right Product
First things first, you’ll need to choose a hair smoothening kit that’s suitable for home use. There are plenty of options available online and in stores, ranging from budget-friendly to high-end. Look for a kit that contains clear instructions as well as gentle, nourishing ingredients to minimize the risk of damage to your hair.
2. Read and Understand the Instructions
Before diving in, take the time to carefully read and understand the instructions provided with your chosen smoothening kit. Pay attention to any safety precautions, and make sure you have all the necessary tools and supplies on hand.
3. Perform a Patch Test
Before applying the smoothening treatment to your entire head of hair, it’s essential to perform a patch test to check for any adverse reactions. Apply a small amount of the product to a discreet area of your scalp or skin, and wait for the recommended amount of time. If you experience any itching, redness, or discomfort, discontinue use immediately.
4. Prepare Your Hair
Begin by cleansing your hair with a clarifying shampoo to effectively eliminate any buildup or residue. Avoid using conditioner or styling products, as they can interfere with the smoothening process. Towel-dry your hair until it’s damp but not dripping wet.
5. Apply the Smoothening Treatment
Follow the instructions provided with your kit to apply the smoothening treatment to your hair. Divide your hair into sections and apply the product evenly from root to tip, making sure to saturate each strand thoroughly. Use a wide-tooth comb to distribute the product evenly and remove any tangles.
6. Let It Set
Once the product is applied, allow it to set for the recommended amount of time. This can vary depending on the brand and type of smoothening treatment you’re using, so be sure to check the instructions carefully.
7. Rinse and Dry
After the allotted time has passed, rinse your hair thoroughly with lukewarm water until the water runs clear. Skip the shampoo and conditioner during this stage of the process. Gently towel-dry your hair and then blow-dry it straight using a round brush or paddle brush.
8. Seal the Deal
To lock in the smoothing effect, use a flat iron to straighten your hair in small sections. Be sure to use a heat-protectant spray to minimize damage and keep your hair looking its best.
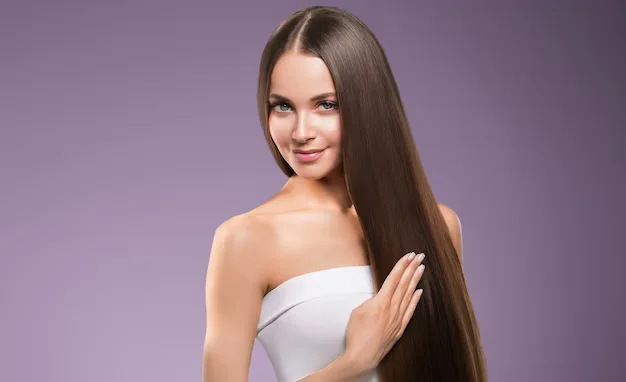
9. Enjoy Your Smooth, Silky Hair
Once you’ve finished styling, take a moment to admire your handiwork! You should now have smooth, silky hair that’s ready to turn heads wherever you go. Enjoy the results of your DIY hair smoothening adventure and feel confident in your beautiful locks.
Immediately After The Hair Smoothening Treatment Procedure
1. Avoid Wetting Your Hair:
- Refrain from washing your hair for 3 days post-treatment.
- Keep your hair dry during this period to allow the smoothening agents to set properly.
2. Hair Styling Precautions
- Do Not Tie Your Hair: Avoid tying your hair or putting it behind your ears.
- While sleeping, ensure your hair remains straight to maintain the desired effect.
3 Days After The Hair Smoothening Procedure
1. Gentle Hair Wash
- Wash your hair with a shampoo and conditioner after the initial three days.
- Leave the conditioner on for a few minutes longer than usual to nourish your hair.
2. Temperature Matters
- Avoid Hot Water: Hot water can strip your tresses of moisture. Opt for lukewarm water instead.
3. Detangling and Comb Carefully
- Use a wide-toothed hair comb to gently separate strands.
- Remove any tangles with care, but avoid using a hairbrush during this phase.
4. Protective Measures
- Apply a hair serum regularly to create a barrier against external damage (dust, sun, pollution).
- Use a leave-in conditioner to retain moisture and prevent dryness and frizz.
- Consider hair masks or professional hair spas to replenish lost nutrients due to chemical compounds.
15 Days After The Hair Smoothening Procedure
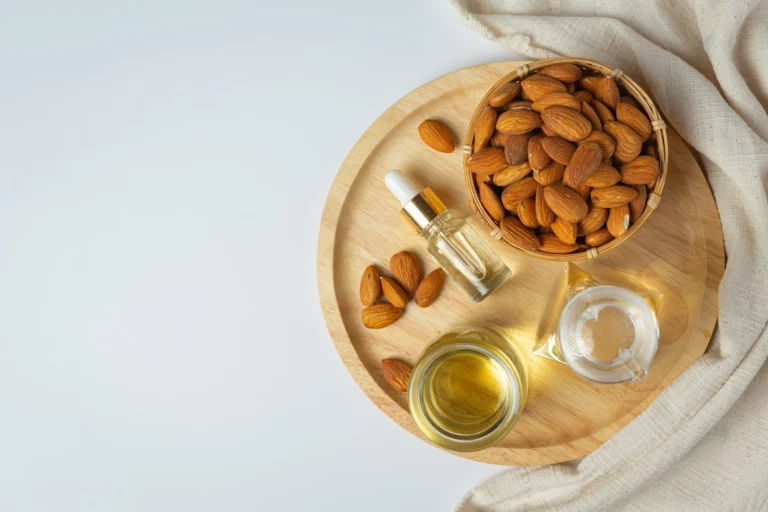
1. Nutritious Diet
- Incorporate nuts, cashews, almonds, and plenty of fruits and vegetables into your meals.
- Eating a well-rounded diet supports the health of your hair.
2. Regular Trims
- Visit your stylist for regular trims to keep your hair in top condition.
- Trimming ensures there are no split ends.
3. Heat and Chemical Avoidance
- Say No to Heating Tools: Avoid using hairdryers or straighteners during this recovery period.
- No Coloring or Highlighting: Your hair needs time to relax after the smoothening treatment.
4. Environmental Protection
- Shield your hair from harsh environmental factors—sun rays, cold winds, and rain.
- Use a hat or umbrella when necessary.
5. Grease Control
- If your hair doesn’t get greasy quickly, shampoo alternate days or try co-washing (using conditioner as a shampoo).
Best Hair Care Products for Hair Smoothing
| Hair Care Product | Description |
| 1. Sulfate-Free Shampoo | Choose a gentle shampoo that is free of sulfates to cleanse your hair without stripping away its natural oils. Look for formulas enriched with moisturizing ingredients to keep your hair hydrated. |
| 2. Deep Conditioning Mask | Treat your hair to a weekly deep conditioning mask to replenish moisture and nourish your strands. Opt for a formula specifically designed for chemically treated hair to repair damage and enhance smoothness. |
| 3. Leave-In Conditioner | Incorporate a leave-in conditioner into your daily routine to provide continuous hydration and protection. Look for lightweight formulas that won’t weigh down your hair, and contain heat protectants to shield your strands from styling damage. |
| 4. Argan Oil Serum | Finish off your styling routine with a few drops of argan oil serum to add shine and smoothness to your hair. Argan oil helps to tame frizz and flyaways, leaving your locks looking sleek and polished. |
| 5. Heat Protectant Spray | Prioritize the use of a heat protectant spray before using any heat styling tools to prevent damage and maintain the results of your smoothening treatment. Choose a lightweight formula that won’t leave residue or weigh down your hair. |
| 6. UV-Protective Hair Spray | Shield your hair from the damaging effects of the sun with a UV-protective hair spray. This extra layer of protection helps to prevent color fading and dryness, keeping your hair healthy and vibrant. |
These top hair care products are specially chosen to maintain the smoothness and health of your hair post-smoothening. Incorporate them into your routine for optimal results and salon-worthy locks every day!
What does hair smoothening cost in India?
As for the price of hair smoothening in India, it varies depending on several factors, such as the salon’s location, reputation, the type of treatment chosen, and the length and thickness of your hair. On average, you can expect to pay anywhere from ₹3000 to ₹10,000 or more for a professional hair smoothening treatment in India. It’s essential to research and consult with different salons to find one that fits your budget and meets your needs.
Conclusion
Hair smoothening has the power to transform your hair game, making it effortlessly smooth and manageable with minimal fuss. Whether you opt for a professional salon treatment or decide to try a DIY approach at home, it’s important to weigh the pros and cons before diving in. By understanding the ins and outs of hair smoothening—how it works, what to expect during treatment, and how to maintain results—you can rock beautiful, frizz-free locks that command attention wherever you go. Don’t hesitate—unlock the secret to silky, smooth hair today with hair smoothening!
Frequently Asked Questions (FAQs) About Hair Smoothening
How does hair smoothening differ from keratin treatment?
Hair smoothening focuses on reducing frizz and enhancing manageability, while keratin treatments primarily aim to strengthen and repair the hair while also smoothing it.
Is hair smoothening suitable for all hair types?
It is generally suitable for most hair types, including curly, wavy, and frizzy hair, but consult a stylist for personalized advice.
Can I color my hair before or after a smoothening treatment?
It’s best to color hair before or after, not immediately around the treatment, to avoid potential damage or compromise to results.
Can I wash my hair immediately after a smoothening treatment?
It’s best to wait at least 48 hours before washing your hair to allow the treatment to fully set and maximize results.
Will hair smoothening make my hair completely straight?
While hair smoothening can significantly reduce frizz and add shine, it may not result in completely straight hair, especially for those with very curly or tightly coiled hair.
Are there any side effects or risks associated with hair smoothening?
Some individuals may experience temporary hair dryness or slight hair texture changes after a smoothening treatment. It’s essential to follow the post-treatment care instructions provided by your stylist to minimize any potential risks.
How soon can I go swimming or expose my hair to humidity after a smoothening treatment?
It’s best to avoid exposing your hair to water, humidity, or excessive sweating for at least 48 to 72 hours after a smoothening treatment to allow the product to fully set and ensure long-lasting results.